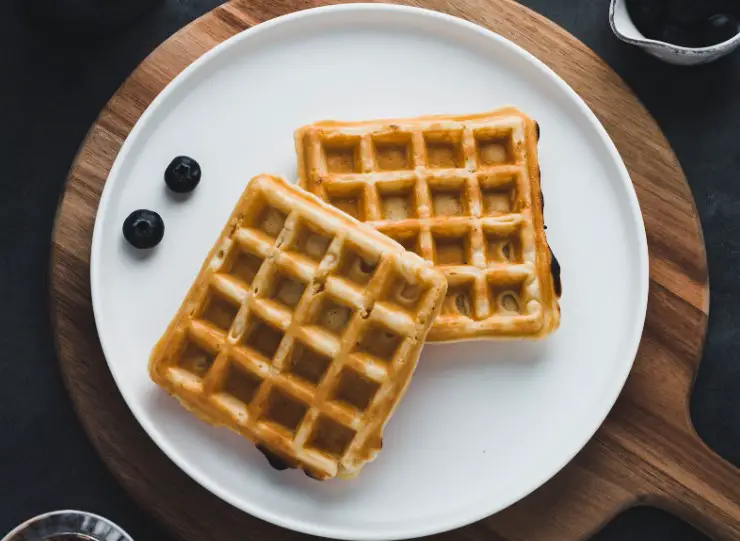
There’s nothing more disheartening than pouring batter into a waffle iron, waiting for that golden-brown goodness, and then discovering your waffles are firmly stuck to the plates. If you’re battling with stubborn, clingy waffles, we have solutions based on your experiences and concerns.
Here’s a comprehensive guide on why this happens and how to prevent it:
Reasons Waffles Stick
- Worn Out Non-Stick Coating:
Like every good thing, non-stick coatings wear off over time, especially if they’ve been scratched or scraped. - Oil Build-up:
Old oil residue that isn’t cleaned off properly can interfere with the effectiveness of new oil or cooking sprays. - Temperature Misjudgment:
An iron that isn’t hot enough or pulling waffles out too soon can cause sticking. The Maillard reaction (responsible for that golden-brown hue) needs to complete for the waffle to release smoothly. - Cooking Spray Misuse:
Using cooking sprays that aren’t suited for waffle irons or leaving residues can lead to sticking.
Prevention and Tips
- Use the Right Oil:
For those with vintage or cast iron waffle makers, a high smoke point oil like avocado oil is recommended. This ensures that the oil doesn’t burn, leaving behind sticky carbon deposits. - Preheat Properly:
Ensure your waffle iron is adequately preheated. A quick trick: drop water on it and if it dances around instead of immediately evaporating, it’s hot enough. - Be Patient:
Don’t rush the cooking process. Wait until steam has reduced or stopped before checking your waffles. - Recipe Matters:
Including oil or melted butter in your waffle batter can make a difference. This ingredient helps in releasing the waffle from the iron effortlessly.
Cleaning a Sticky Waffle Iron
- Avoid Scratching:
Whether you’re dealing with a non-stick or cast iron waffle iron, it’s vital not to scratch the cooking surface. Scratching can lead to more sticking in the future. - Dry it Out:
If batter is stuck, turn the waffle maker on for 10-20 minutes. Once cooled, the dried batter should brush off easily with a stiff (non-metallic) brush. - Re-seasoning Cast Iron:
If you’re working with cast iron:- Buff the plates to ensure they’re smooth and free of debris.
- Apply a thin layer of high-temp oil.
- Place plates upside down in a hot oven (about 450°F) for 1-2 hours. Turn off the oven and let them cool inside.
- Repeat the oil and baking process a few times.
- Once re-seasoned, never let them sit in water. Clean with a soft sponge and dry immediately. Wipe the dry plate with a bit of oil before storing.
- Thorough Cleaning:
To remove residues, especially from unsuitable cooking sprays, a thorough cleaning is essential. A mixture of water and dishwashing liquid can be brushed on, then rinsed thoroughly. Remember, light brushing with vegetable oil before cooking can help with non-sticking.
In Conclusion
Perfecting the art of making waffles requires patience and a bit of practice. By ensuring your waffle iron is in prime condition, using the right techniques, and cleaning it properly, you can enjoy crisp, golden-brown waffles that release effortlessly every time. Happy waffle-making!